Cookiecutter WebGL Template

This cookiecutter templates a modern base project for
creating WebGL experiments with three.js.
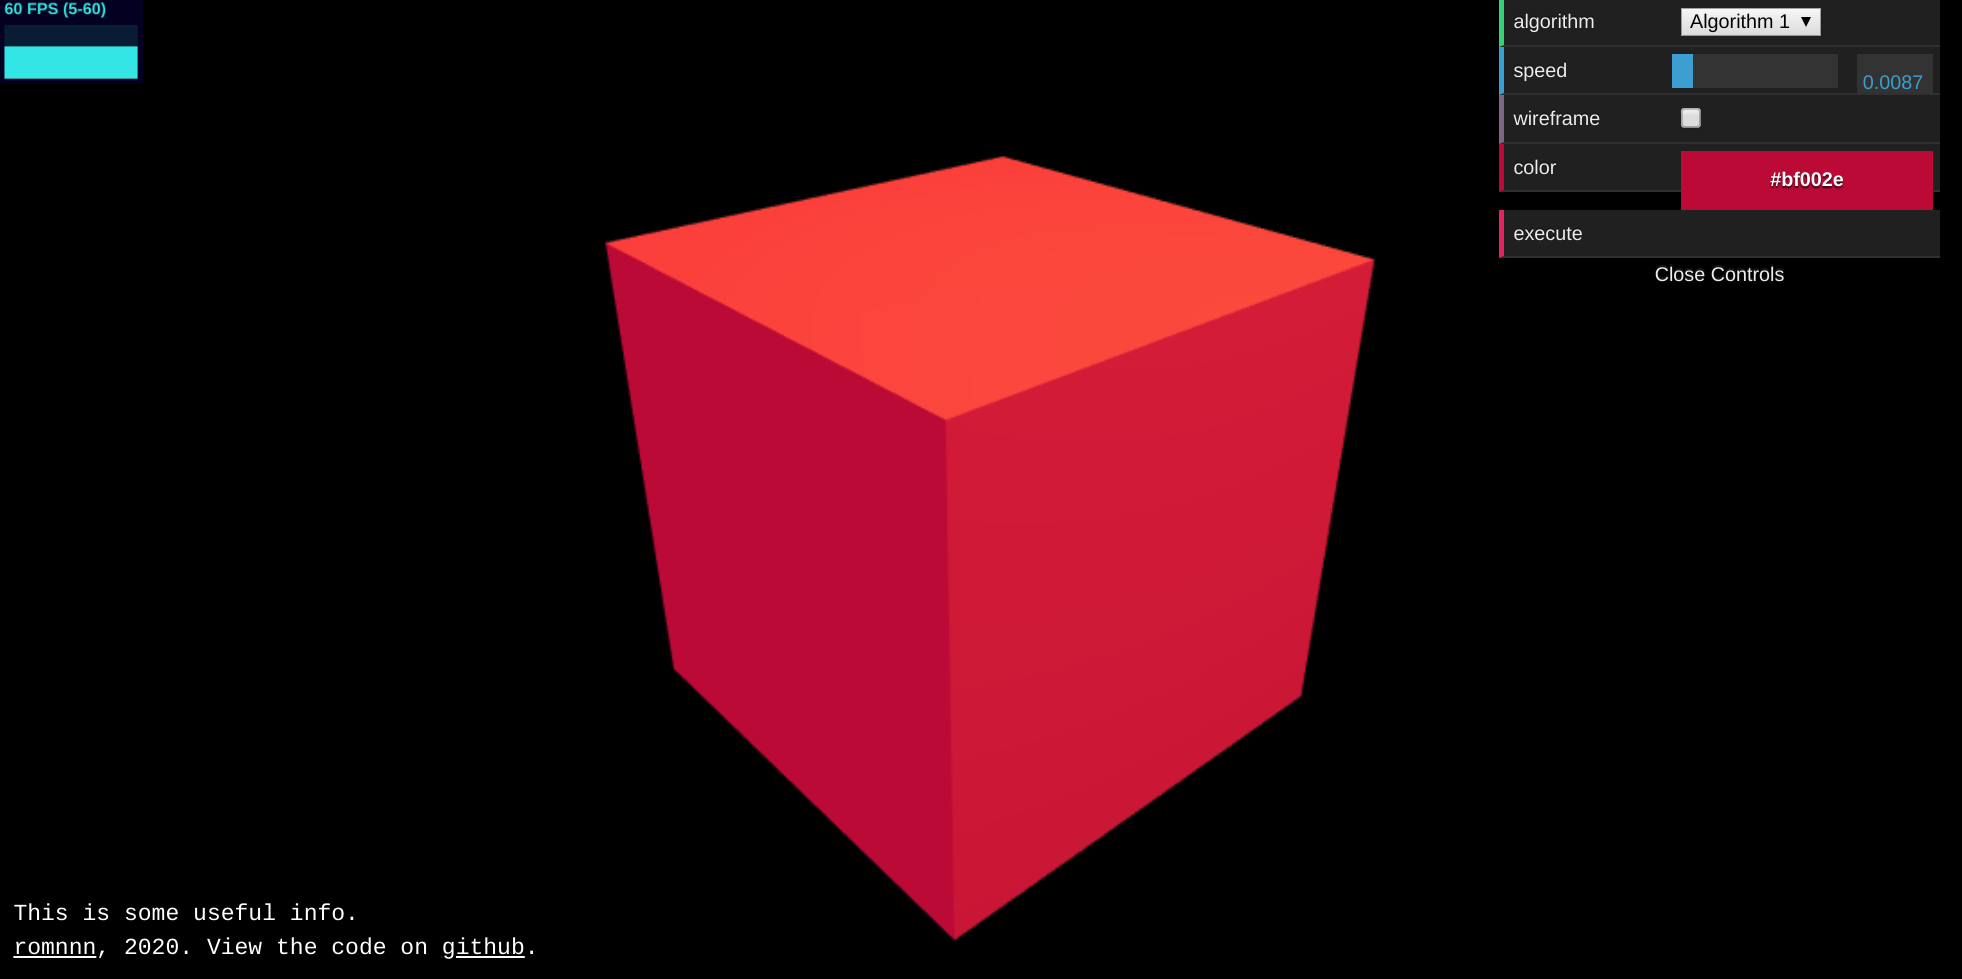
It uses yarn and typescript with webpack and also includes common tools such as dat.gui, stats.js or Orbit Controls.
See the generated template in action.
Features
Modern typescript ECMA 2018 code base
Fully typed support for three.js
Bundling using webpack
Pre configured to import your CSS and transpile SASS/SCSS
Includes bootstrap for quick prototype user interfaces
Includes useful tools: dat.gui, stats.js and Orbit Controls
Fast and deterministic dependencies using yarn
Hot reload (HMR) development mode
Integrated linting and auto-fixing using eslint
Optional linting as a git pre commit hook
Quickstart
Install cookiecutter>=1.4.0 if you haven’t already:
$ python3 -m pip install -U cookiecutter
Generate your WebGL project (you will be asked for the project name etc):
$ cookiecutter https://github.com/romnnn/cookiecutter-webgl.git
After your project was created:
Create a remote repository and publish your project:
$ cd <mypackage>
$ git remote add origin git@github.com:myusername/mypackage.git
$ git add .
$ git commit -m "Initial commit"
$ git push --set-upstream origin master
Add the repo to your Travis-CI account. If you have connected travis with GitHub this is done automatically.
If you wish to publish an interactive demo version of your project on GitHub Pages, generate a GitHub access token for repo:public_repo and set this token in your travis build settings as a secret environment variable
GH_TOKEN.If you do not want to deploy to GitHub Pages, remove the
deploy pagesbuild stage from.travis.yml.From here on you can continue with the instructions in your generated project’s
README.md.Start coding!
Customization after project creation
How can I add git pre commit checks to a project when I disabled them during creation?
The template still installs husky,
the package used for installing git hooks in your project,
but does not configure any rules. Just add an entry to your package.json:
"husky": {
    "hooks": {
        "pre-commit": "yarn lint"
    }
}
How can I change the linter strictness about warnings after I created the project?
You can always configure the .eslintrc.js and .prettierrc.js
as you desire.
To change how linting warnings are treated, change the --max-warnings
parameter value in your package.json:
--max-warnings=-1allows unlimited warnings--max-warnings=nwheren>=0makes the linter fail afternwarnings
Credits
The basic setup structure was inspired by mterczynski/typescript-webpack-threejs-template.
The use and configuration of tools such as dat.gui or stats.js was inspired by vaneenige/webgl-structure.
The overall template structure including tests and hooks was inspired by my python package template.
Documentation
If you need more guidance I encourage you to have a look at the more extensive documentation.